
A 3D Printed Mandalorian Party

When my son asked for a Mandalorian-themed birthday party, I knew I needed to warm up the 3D printers! Thanks to a lot of filament and sugar, I do think we pulled off one special party! Read on for all the details about the games, food and decor.
Mandalorian Party Games
Game #1 - Assemble the Mandalorian Armor

Objective: Players must find 6 hidden Easter eggs filled with Mandalorian armor. Once they have found all of their eggs, they must assemble the 6 pieces of armor to build a Mandalorian figure. Once the armor is assembled, they will be given their final piece (the weapon). The first team to complete their figure wins.
Materials:
3D Printed Mandalorian Figure (1 figure per team)
Large Plastic Easter Eggs (4 different colors, 6 of each color)
3D Printing: For this game I needed a Mandalorian figure that could be broken into pieces that would fit inside Easter eggs. After scouring Thingiverse, I finally gave up and designed my own using the 3D Print Your Own Block Figures tutorial. I originally also planned to print my own Easter eggs designed with the Egg tutorial, but I realized I would need 24 and there was just not enough printer time for that. So I just sorted through the bucket of eggs I had in the attic.

Preparation: I planned to have 4 teams so I printed out the Mandalorian figure 4 times. I chose 4 colors of eggs (blue, yellow, orange and pink). I put 1 piece of the figure in each egg, so that once a team had found all six eggs of their color they would have a complete figure (minus the cape). I put the capes in my pocket, so I could give them to the teams when they had completed the rest of the figure.
Finally, we hid the eggs around the yard before the kids arrived.

Game Play: I divided the kids into equal teams, explained the rules, emphasizing that they should only touch the eggs from their team’s color and sent them on their way. Some teams stuck together to hunt while others split up. Some tried to assemble their figures as they found the pieces. Others grabbed all six eggs and brought them back to the party room (aka garage) before beginning assembly. In the end everyone got the figure assembled, and the birthday boy’s team was the fastest. (And I made some of the youngest party guests very happy when I let them take one of the figures home after the party.)
Game #2 - Destroy the Starships

Objective: Use a Nerf blaster to shoot the enemy “starships” out of the sky.
Materials:
Nerf blasters (1 per team)
Nerf darts
Pool noodles cut in half horizontally and vertically (1 noodle per 4 teams)
3D Printed Starships or Plastic golf balls (5 per team)
Golf tees (5 per team)
3D Printing: I really wanted to 3D print the starships, but I just could not find enough printing time…so much to print, so little time! So we used plastic golf balls.

Preparation: Stick 5 golf tees in each cut pool noodle. Place the pool noodles on an even surface. A table would work great, but the ground works, too. Space the pool noodles far enough apart so that each team has its own “shooting range.” Place the balls or 3D-printed starships on top of the tees. Mark where players should stand to shoot. Be sure to test it yourself to figure out a good range that is not too easy but not impossible.

Game Play: With 3 boys I have a large collection of Nerf blasters so I made a production of allowing each team to choose their weapon and their darts. The teams then lined up behind their firing lane and selected one player to shoot first. After I said, “Ready, aim, fire,” the players shot their darts to try to knock the balls (aka starships) off the tees. Each player got 5 shots before we set all the balls back up, and the next players took their turn to shoot. At the end of each round I recorded how many balls each team had managed to knock down. After all players had taken a turn, I tallied the total number of destroyed “starships” to determine the winning team.
Game #3 - Save Grogu (aka Capture the Flag)
Objective: Save Grogu from behind enemy lines and bring him safely back to your own territory
Materials:
3D Printed Baby Yoda/Grogu (one per team)
Pool Noodle “Light Sabers” (one per player)
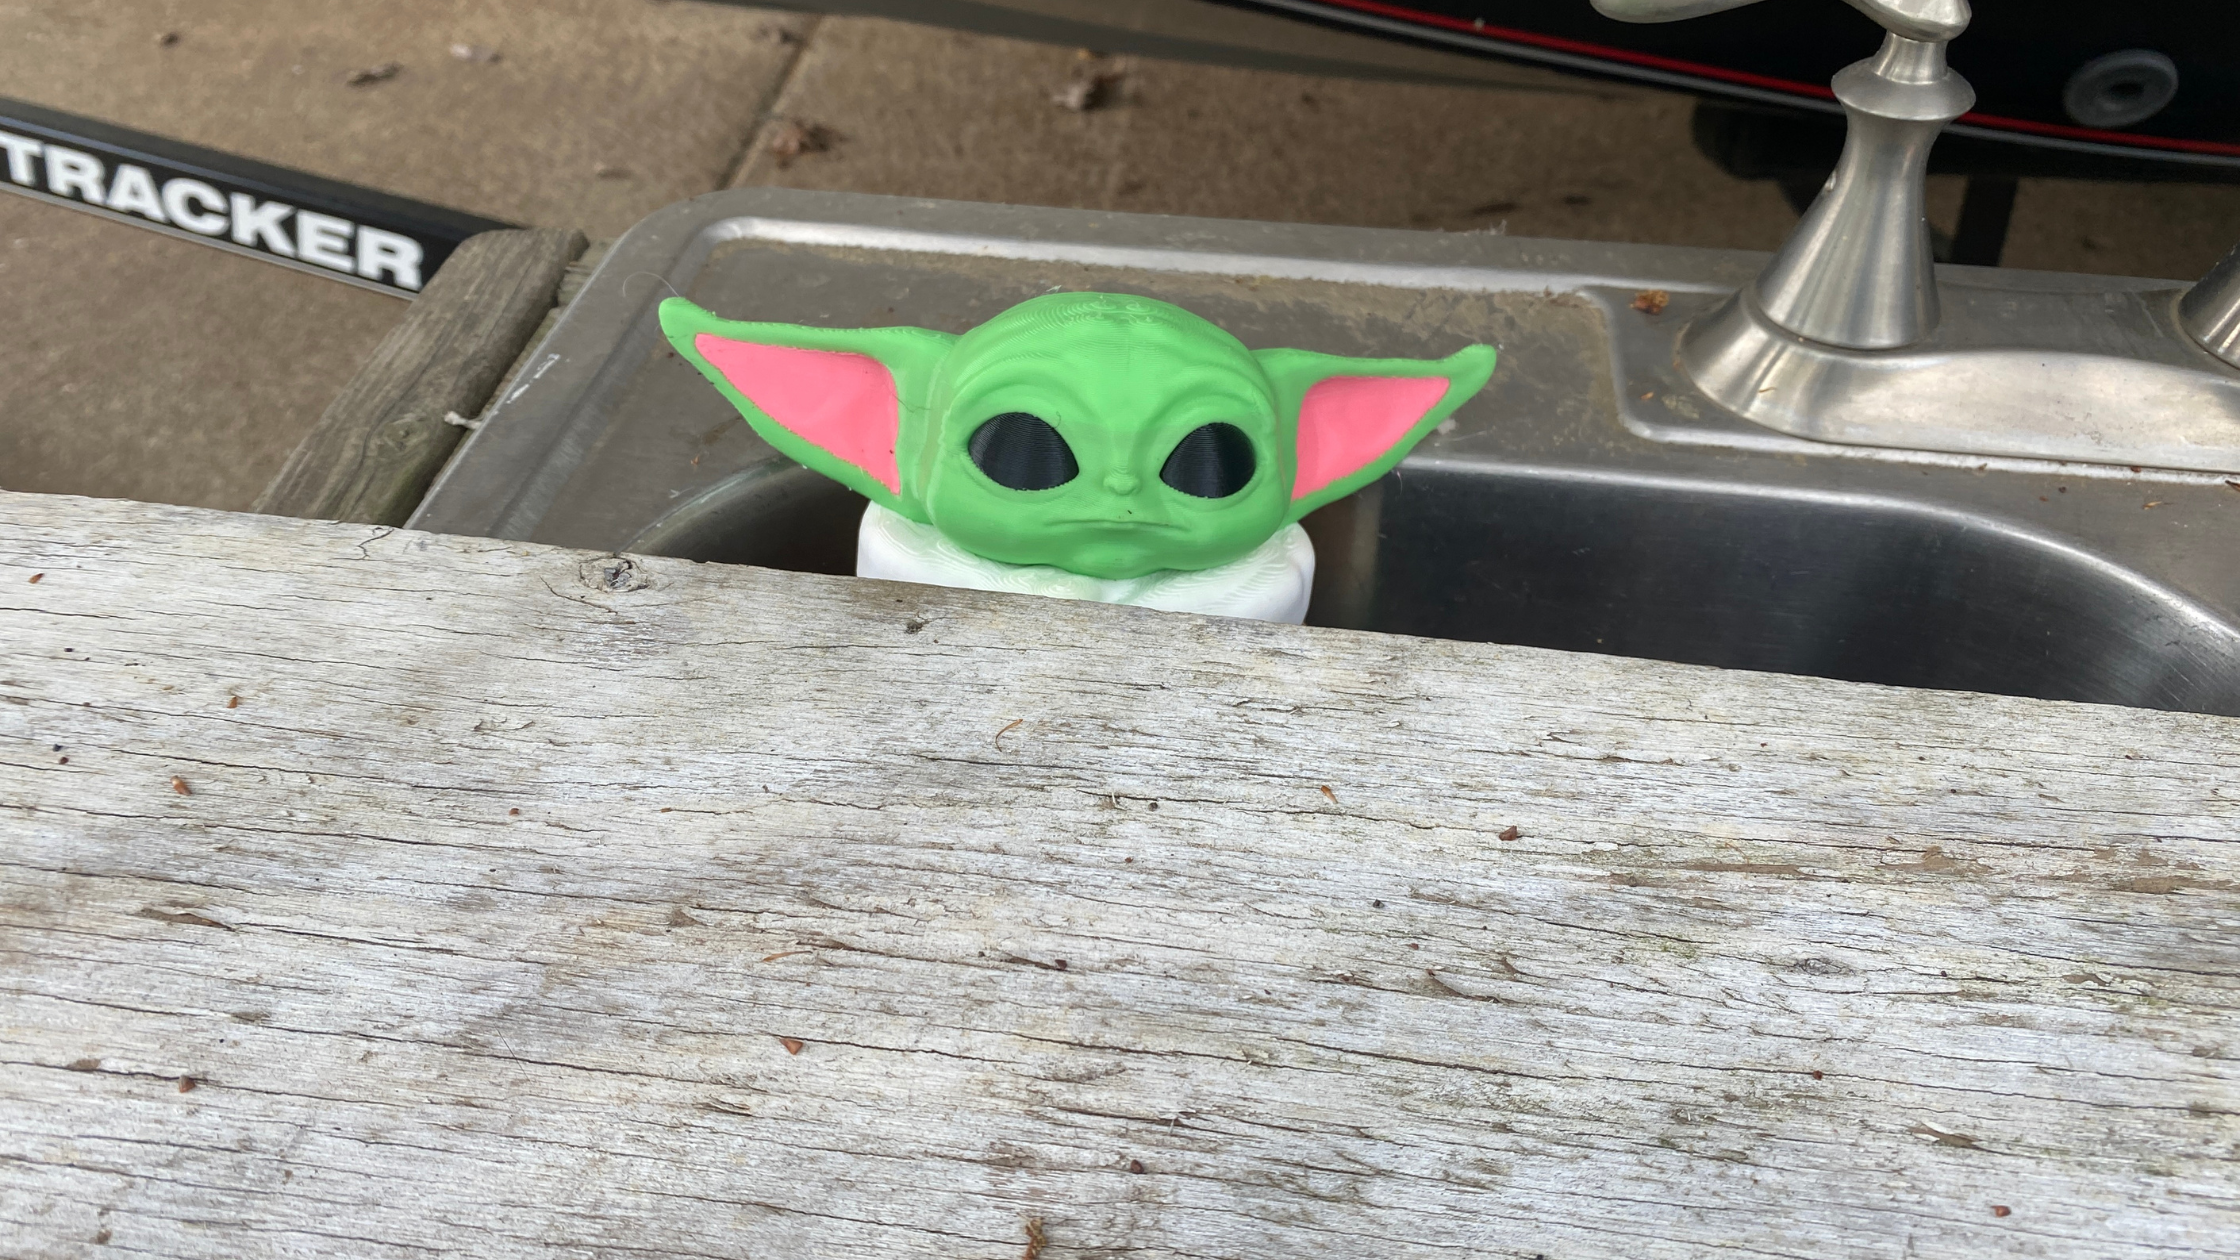
3D Printing: I knew I wanted a 3D model of Baby Yoda both for this game and for party decor. I originally planned to print individual pieces and glue them together to make him multi-color, but when I found a good multi-color model on thingiverse, I decided to go all out and print it. The original design is huge. The person who turned the model into a multi-color model only printed it at 25%, but I wanted it big so I printed it at 80%. It took about 25 hours to print one, but it was worth it. He looked great and made a great “flag.” (If you don’t have a multi-color printer or don’t have time to print a multi-color version, the game would be just as fun with a single-color Grogu.)

Preparation: Make sure each kid has a “light saber.” I had the kids create their light sabers as they arrived at the party. Each kid had a pool noodle (cut in half) that they could decorate with duct tape, electrical tape and solid color round stickers (that looked like buttons).
Divide the playing area into two sides, trying to make it as even as possible as far as size, terrain, hiding places, etc. Mark off a jail area on each side. The “jail” needs to be large enough for several kids to hang out as they wait to be freed. You can use cones or flags to mark sides, jails and boundaries or use natural markers like trees and rocks.

Game Play: For each of the previous games I had 4 teams, but for this one I only needed two, so I combined two teams into one. Each team was given a 3D printed Grogu and had the chance to hide it. I gave them the rules that Grogu had to be fully visible (i.e. no burying it) and had to be accessible to even the shortest player (i.e. no putting it on the roof).
After both teams had hidden Grogu, I shouted to indicate that the game had begun. Players had to cross over into the other team’s territory to try to find and rescue Grogu and bring him back to their own territory.
A few rules:
If a player was tagged with the light saber while in “enemy” territory, that player had to go to jail and could only be freed if a teammate tagged him/her.
If a player was tagged while carrying Grogu, the player had to place Grogu at the spot where he/she had been tagged and then go to jail and wait to be freed by a teammate.
Players were not allowed to guard their own Grogu, meaning they had to be at least 10 feet away. After seeing them play, I would probably make them stay even farther away, and I would enforce the same for guarding the jail. This should hopefully ensure a faster game and make sure that some kids don’t spend the whole time in jail.
Light saber on light saber did not count as a tag. The light saber had to touch the person.
Before play began, I also emphasized kids should not hit each other hard with the light sabers or in the head, since after all, light sabers are powerful tools.

The kids had a really good time playing this game. They located Grogu quickly but struggled to strategize well to figure out how to rescue him without being captured. Eventually one team’s persistence and speed prevailed and Grogu was safely returned!
Prizes
I printed some imperial credits to give as prizes for each of the games. The first place team got gold, second silver and third bronze.

Mandalorian Party Food

The party was in the afternoon so we didn’t need a full meal. We had pigs in a blanket designed to look like “The Child.” We also had some celery sticks (Baby Yoda Fingers) with Ranch dressing. We had Davan Doritos. Davan is an obscure character, but I needed the alliteration!

For sweets we had Space Macarons, one of Grogu’s favorites. These were Oreos dipped in blue- and yellow- tinted white chocolate. There were gummy frogs and gummy worms since little Grogu also loves these.

The birthday boy insisted he wanted donuts instead of birthday cake. I was torn on this request because, on the one hand, buying some donuts would be much easier than making a full cake, but on the other hand, I had already imagined some cool 3D printed cake topper ideas. In the end I granted his request, but I did throw in some cupcakes with 3D printed toppers.

Here is a link to the .stl files for the toppers in case you want to print them:
And here is the Tinkercad file in case you need to make some changes. There are also some other designs that I decided not to use.
Mandalorian Party Decor, Crafts & Fun
Since not everyone arrives at the same time, I like to have something for the kids to do as they arrive. They were able to design their light sabers using pool noodles, duct tape, electrical tape and circle stickers. They were also able to create a Signet necklace, an idea I got from partylikeacherry.

The Baby Yodas/Grogus we used for the Capture the Flag game were great because they could also double as table decorations until we needed them for the game.
My husband also 3D printed my son a Mandalorian helmet for the party, and since it took him 3 tries to figure out the right size, we had extra helmets to put on the tables. Here is the thingiverse file he used for the Mandalorian helmet.

The piñata is a staple of birthday parties in our family. I used to buy them or make elaborate papier mâché ones, but now I just fill a cardboard box with candy, wrap the box (for this one, I used aluminum foil) and add some type of decoration. It is a lot cheaper, easier and sturdier, and the kids have just as much fun.

I also used the Cricut to make shirts for everyone so we could match the party theme and have fun shirts to wear later. I let everyone choose their own designs.

And that’s that! It was a fun party, and now all my kids are in double digits!
