3D Print Your Own Maraca
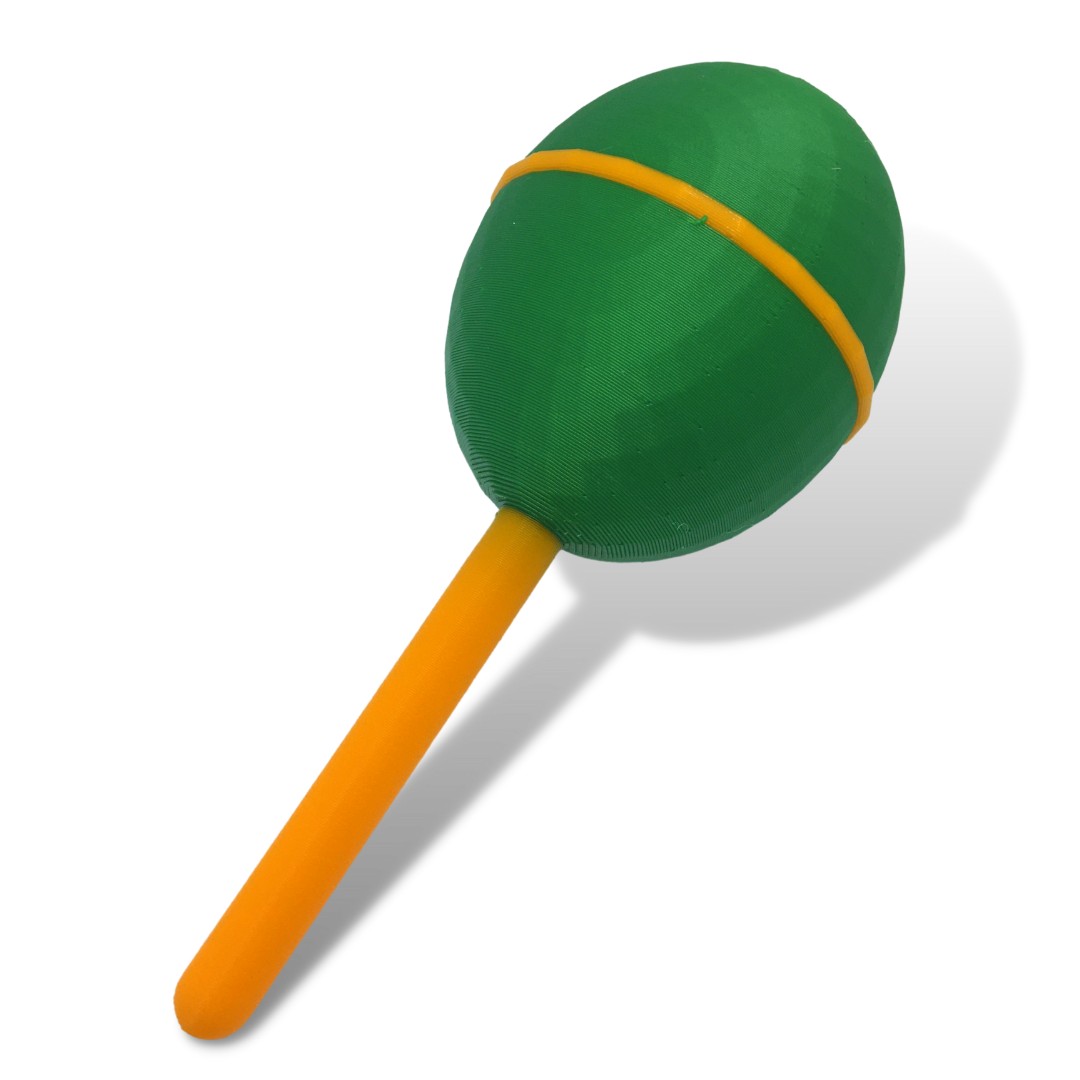
Shake...shake...shake. Make a musical instrument that really works. Use this tutorial to design and 3D print your very own maraca. From opening Tinkercad to adding the dried rice or beans, you will learn everything you need to create maracas. You can even add different colored stripes!
Shake...shake...shake. Make a musical instrument that really works. Use this tutorial to design and 3D print your very own maraca. From opening Tinkercad to adding the dried rice or beans, you will learn everything you need to create maracas. You can even add different colored stripes!
Shake...shake...shake. Make a musical instrument that really works. Use this tutorial to design and 3D print your very own maraca. From opening Tinkercad to adding the dried rice or beans, you will learn everything you need to create maracas. You can even add different colored stripes!
Get this tutorial and more in the Music Mega Bundle!
Maraca
Level: 1
Supplies Needed:
Dry rice or beans
Formats: The downloadable .zip file will have the tutorial in the following formats:
Video: Follow along with the step-by-step video to create your own project. Play and pause as often as you need to. You can view the video on a computer, a tablet or your phone.
On Screen Tutorial: Scroll through the steps on your computer, tablet or phone. This .pdf file contains a picture and description for every step.
Printed Booklet: This .pdf file is designed to be printed double-sided on the short edge. Fold the stack of papers in half and staple along the fold to create a booklet that you can hold in your hand as you complete the steps on screen.
Print Time*: 4:17
*Print Times vary significantly based on the printer and settings used. All print times are calculated for a Prusa MK3S printer using the settings described in the tutorial.


