Toys Mega Bundle
Don't just play with toys--make your own! Use these step-by-step tutorials to learn how to create 3D Printable toys. This Mega Bundle includes complete tutorials to show you how to create:
a Toy Car (Level 1)
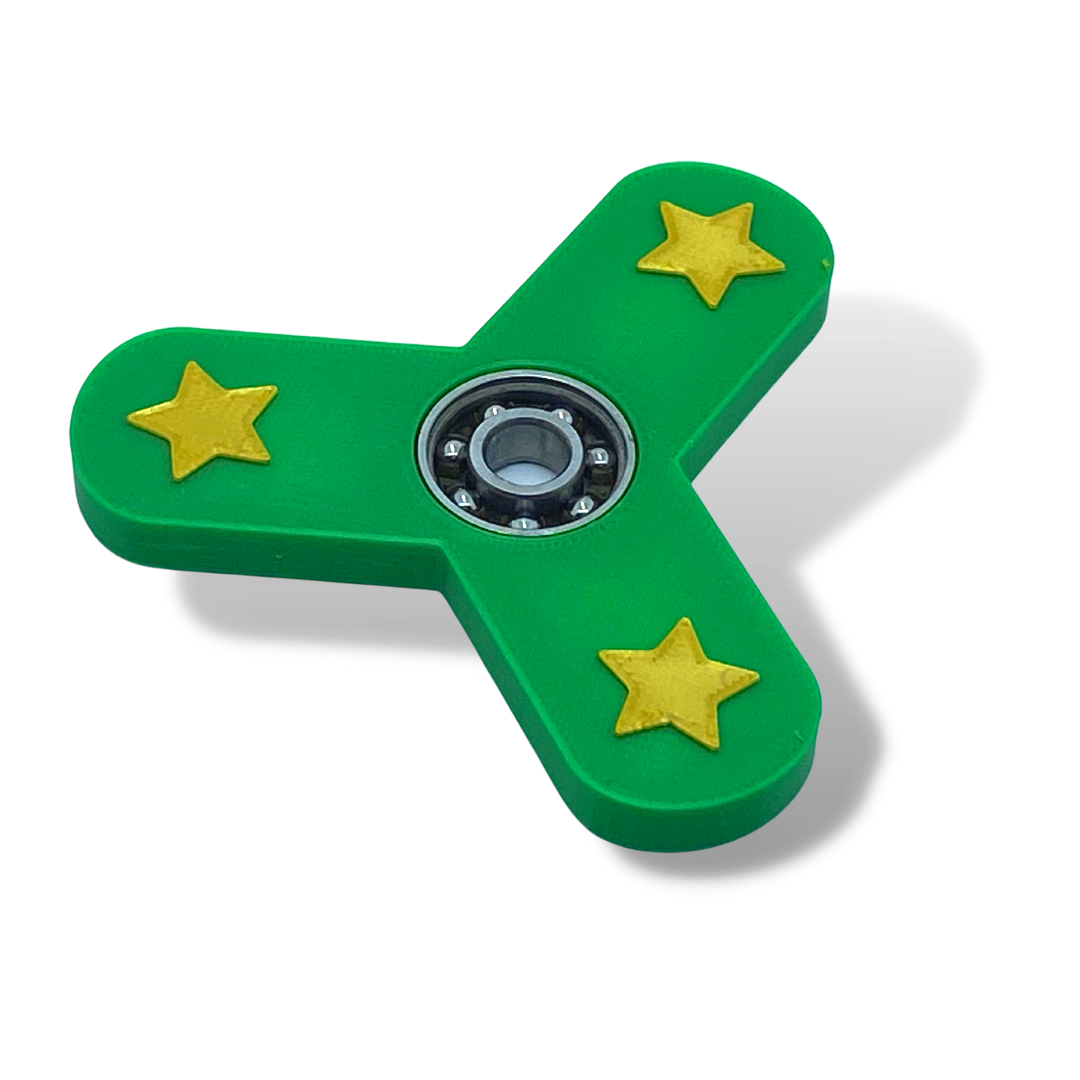
a Fidget Spinner (Level 1)
a Lego-style Building Brick (Level 1)
a Rip 'n Spin Toy (Level 2)
a Complete Building Brick Set (Level 2)
a Motorized Flying Saucer (Level 2+)
The Bundle also includes 3 Level 3 guided projects to help you and your students create:
a Building Brick Set with Specialty Pieces
a Press-Fit Toy (made up of different pieces that are snapped together)
a uniquely-designed Puzzle Cube
Don't just play with toys--make your own! Use these step-by-step tutorials to learn how to create 3D Printable toys. This Mega Bundle includes complete tutorials to show you how to create:
a Toy Car (Level 1)
a Fidget Spinner (Level 1)
a Lego-style Building Brick (Level 1)
a Rip 'n Spin Toy (Level 2)
a Complete Building Brick Set (Level 2)
a Motorized Flying Saucer (Level 2+)
The Bundle also includes 3 Level 3 guided projects to help you and your students create:
a Building Brick Set with Specialty Pieces
a Press-Fit Toy (made up of different pieces that are snapped together)
a uniquely-designed Puzzle Cube
Level: 1, 2 and 3
Supplies Needed:
To finish the car, you will need four M2 12 mm bolts to attach the wheels. You can buy those here.
To finish the fidget spinner, you will need a Steel Ball Bearing (8mm x 22mm x 7mm), such as those available here.
To assemble the Flying Saucer, you will need a 9V battery, a DC motor, a switch, and a 9V battery clip connector. You can get all of the components you need with a hobby motor kit, such as this one here on Amazon. You will also need a soldering iron to attach the wires.
Formats: The downloadable .zip file will have the Level 1 and 2 tutorials in the following formats:
Video: Follow along with the step-by-step video to create your own project. Play and pause as often as you need to. You can view the video on a computer, a tablet or your phone.
On Screen Tutorial: Scroll through the steps on your computer, tablet or phone. This .pdf file contains a picture and description for every step.
Printed Booklet: This .pdf file is designed to be printed double-sided on the short edge. Fold the stack of papers in half and staple along the fold to create a booklet that you can hold in your hand as you complete the steps on screen.
For the Level 3 project, you will receive an 8-page .pdf that will guide you through the steps necessary to create 3 different projects.