 Image 1 of 5

 Image 2 of 5

 Image 3 of 5

 Image 4 of 5

 Image 5 of 5


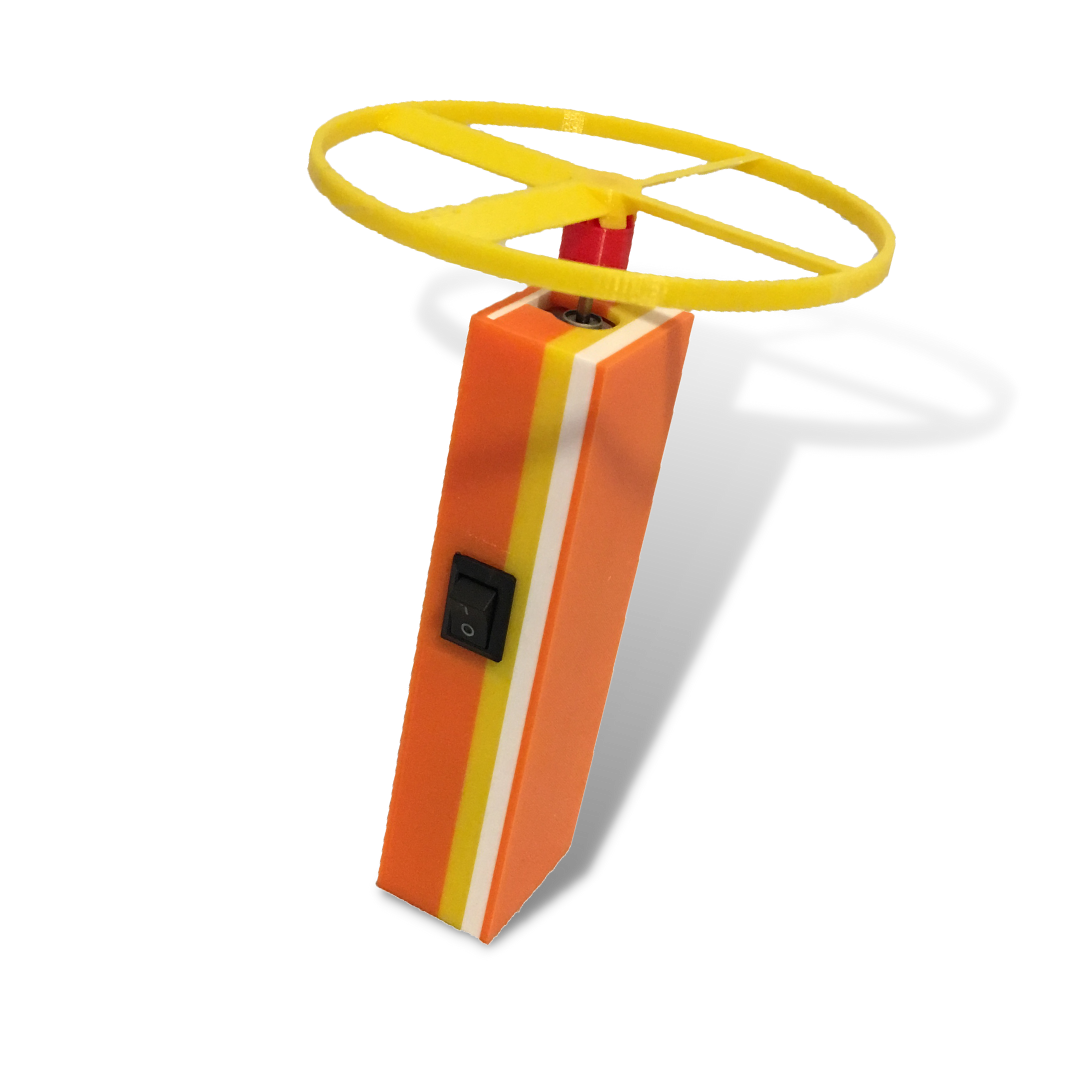
3D Print Your Own Flying Saucer
Take your 3D design skills to the next level with this step-by-step guide for creating a motorized flying saucer. Design the fan, the knob, the casing and the casing cover. Attach a DC motor, a switch and a 9-Volt battery and watch the fan fly. It will go 20+ feet in the air. Kids and adults will both have a lot of fun with this one.
Take your 3D design skills to the next level with this step-by-step guide for creating a motorized flying saucer. Design the fan, the knob, the casing and the casing cover. Attach a DC motor, a switch and a 9-Volt battery and watch the fan fly. It will go 20+ feet in the air. Kids and adults will both have a lot of fun with this one.
Take your 3D design skills to the next level with this step-by-step guide for creating a motorized flying saucer. Design the fan, the knob, the casing and the casing cover. Attach a DC motor, a switch and a 9-Volt battery and watch the fan fly. It will go 20+ feet in the air. Kids and adults will both have a lot of fun with this one.
Get this tutorial and more in the Toys Mega Bundle!
Flying Saucer
Level: 2+
Supplies Needed:
For assembly you will need a 9V battery, a DC motor, a switch, and a 9V battery clip connector. You can get all of the components you need with a hobby motor kit, such as this one here on Amazon.
To attach the wires you will need a soldering iron.
Formats: The downloadable .zip file will have the tutorial in the following formats:
Video: Follow along with the step-by-step video to create your own project. Play and pause as often as you need to. You can view the video on a computer, a tablet or your phone.
On Screen Tutorial: Scroll through the steps on your computer, tablet or phone. This .pdf file contains a picture and description for every step.
Printed Booklet: This .pdf file is designed to be printed double-sided on the short edge. Fold the stack of papers in half and staple along the fold to create a booklet that you can hold in your hand as you complete the steps on screen.
Print Time*: 1:40
*Print Times vary significantly based on the printer and settings used. All print times are calculated for a Prusa MK3S printer using the settings described in the tutorial.


